02 WireGuard
WireGuard 使用比 frp 更加加单, 查看手册。WireGuard 是 VPN 技术,比 OpenVPN 更新,更简单。只需要在两台服务器上安装 WireGuard,经过简单配置即可使用。
1. 安装 WireGuard
分别在云服务器和内网服务器上安装 WireGuard:
sudo apt update
sudo apt install wireguard
云服务器充当服务器,内网服务器充当客户端。
2. 生成密钥对
WireGuard 使用公钥和私钥进行加密通信。生成两对秘钥,一会粘贴到配置文件。
wg genkey | tee 私钥A | wg pubkey > 公钥A
wg genkey | tee 私钥B | wg pubkey > 公钥B
3. 配置 服务端
配置 WireGuard 服务器的配置文件 /etc/wireguard/wg0.conf。假设服务器使用 51820 端口。
第一步,编辑服务器配置文件:
sudo nano /etc/wireguard/wg0.conf
贴入配置:
[Interface]
Address = 10.10.10.1/24        # 服务器的虚拟 IP 地址
ListenPort = 51820           # 监听的端口
PrivateKey = <服务器的私钥>    # 私钥A

[Peer]
PublicKey = <客户端的公钥>     # 公钥B
AllowedIPs = 10.10.10.2/32    # 客户端的虚拟 IP 地址
第二,启动 WireGuard 服务。第三,开机自启。
sudo wg-quick up wg0
sudo systemctl enable wg-quick@wg0
4. 配置 客户端
客户端也需要配置 WireGuard,并使用服务器的公钥和自己的私钥。
第一,编辑客户端配置文件:
sudo nano /etc/wireguard/wg0.conf
客户端配置示例:
[Interface]
Address = 10.0.0.2/32       # 客户端的虚拟 IP 地址
PrivateKey = <客户端的私钥>  	# 私钥B

[Peer]
PublicKey = <服务器的公钥>  	# 公钥A
Endpoint = <服务器的公网 IP>:51820  # 服务器的公网 IP 和端口
AllowedIPs = 0.0.0.0/0       # 允许客户端访问所有 IP 地址
PersistentKeepalive = 25     # 保持连接(适用于 NAT 环境)
AllowedIPs:客户端允许访问的 IP 地址范围(通常设置为 0.0.0.0/0 以便访问所有 IP)。
第二,启动 WireGuard 客户端。第三,开机自启。
sudo wg-quick up wg0
sudo systemctl enable wg-quick@wg0
5. 配置防火墙和路由
确保服务器上的防火墙允许 WireGuard 使用的端口(51820)。
第一,允许端口 51820:
sudo ufw allow 51820/udp
如果服务器与客户端之间的通信需要通过 NAT,你还需要配置 IP 转发和适当的防火墙规则。
第二,启用 IP 转发:
# 临时启用 IP 转发
sudo sysctl -w net.ipv4.ip_forward=1

# 永久启用 IP 转发(修改 sysctl 配置)
sudo nano /etc/sysctl.conf

# 添加或确保存在以下行
net.ipv4.ip_forward=1
sudo sysctl -p
第三,通过 iptables 配置 NAT 转发:
sudo iptables -t nat -A POSTROUTING -o eth0 -j MASQUERADE
6. 测试连接
使用此命令查看 WireGuard 状态:
sudo wg

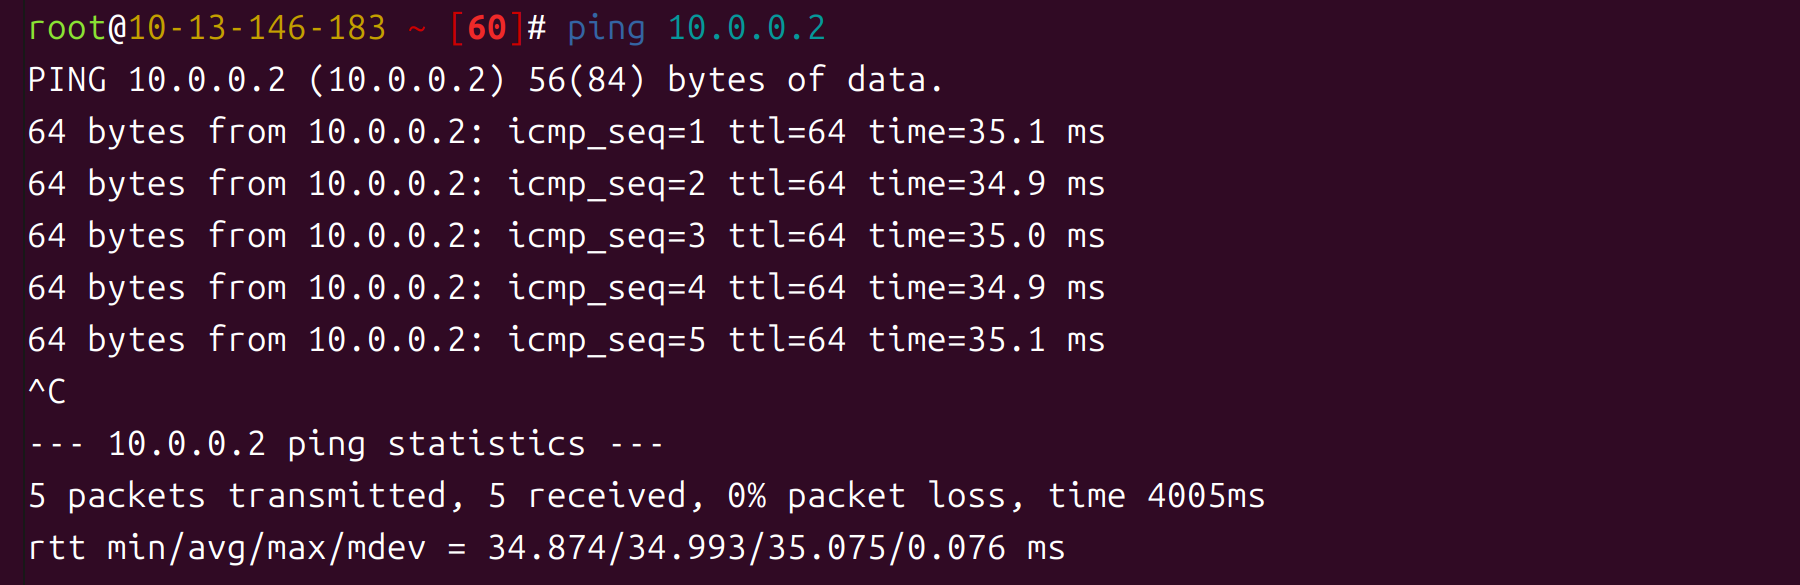
ping 测试:
7. 添加多个客户端
如果需要添加更多的客户端,只需为每个客户端生成一对密钥,并将其公钥添加到服务器配置的 [Peer] 部分,同时为每个客户端配置一个不同的 IP 地址。
服务器配置示例(添加多个客户端):
[Peer]
PublicKey = <客户端1的公钥>
AllowedIPs = 10.0.0.2/32

[Peer]
PublicKey = <客户端2的公钥>
AllowedIPs = 10.0.0.3/32
客户端配置文件的 [Peer] 部分也要相应修改。
8.重载配置
修改配置文件后,使用此命令重载配置:
sudo wg-quick down wg0
sudo wg-quick up wg0
9.其他问题
- UDP 本身是不可靠的,但WireGuard 通过其加密机制自己实现了完整性校验与保护。
体验:WireGuard 配置还是蛮简单的,一次成功。